You get to your desired destination and realize you don’t have a rolling tray, but it’s okay …as long as you have a Stanley Water Bottle. This infamous water bottle doesn’t just keep you hydrated, it can assist in getting you high by acting as a stand in rolling tray.
1. Hydrate
The first step of this process is using your Stanley Water Bottle as intended, to hydrate! Now, I am fairly certain that the product designers at Stanley didn’t intend for us to roll joints on their cups, but innovation never sleeps!!
2. Lay your rolling papers on the top your Stanley
Lay the full rolling paper down on the top of your Stanley Water Bottle (not everyone uses the full rolling paper! —see tutorial here), pat down to ensure your rolling papers are ready for loading. Tyler is using 1 and 1/4 RAW organic hemp rolling papers.
3. Add a filter
Pre-made filters make life easy, Tyler is using RAW filters for her joint. Place the filter at the very end of your joint.
4. Add your weed to the middle of your rolling paper
Add your ground up weed to your rolling paper, in front of the filter. Make sure all of your weed is in the middle of your rolling paper, and not spilling out of the sides, or at the ends.
5. Give it a little shimmy
This is arguably the most important step in rolling a joint, make sure you shimmy! A shimmy consists of you pinching the rolling papers between your pointer fingers and thumbs to get your weed in a nice column pre-rolling.
6. Tuck the rolling papers under the filter
Tucking the rolling paper under the filter allows you to use the filter as a rolling cone, guiding you to rolling the perfect cone shape.
7. Give the rolling paper a little lick
Make sure you’re licking the sticky side, or all of this joint rolling will be for NOTHING! Kidding, if you discover you’ve licked the wrong side of the rolling papers, just start over! Rolling a joint is a practice, and should be treated as such. Failure is nothing but a lesson.
8. Roll the papers around the filter
Wrap the rolling paper around the filter of the joint, make sure it’s super tight! This is what turns your joint into a perfect cone shape.
9. Use your Joint Cone to pack
Tyler uses the skinny end of her Joint Cone to pack the weed into her joint. Make sure you take your time with this part, there is nothing worse than a joint that is rolled too loosely. We want to get loose, not roll loose.
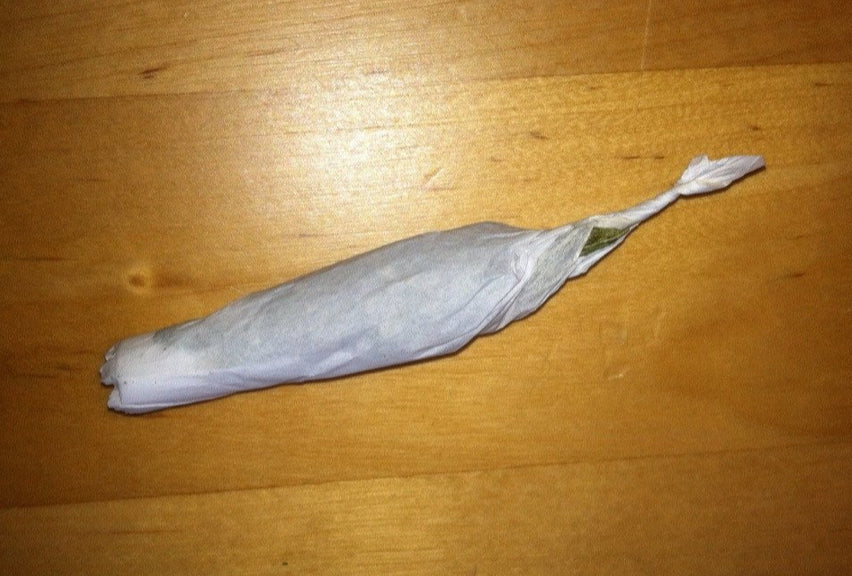
10. Pinch the top and twist
The final step in the joint rolling process, the bow on the present you are about to gift yourself.
11. Rehydrate and get high
Learning how to roll a joint can be a frustrating process, but the reward is …well, rewarding. Staying high–drated during the process will make everything more fun.

Know someone who struggles with rolling joints!?
Click to copy link to our joint rolling tutorials library.
https://anotherroom.io/blogs/another-blog/how-to-roll-a-joint-somewhere-nowhere-and-everywhere