Posted on•8min
How to roll a pinner joint
Another Room’s Co-Founder Shafeez Walji teaches you how to roll a pinner joint, in the most granular tutorial yet. If you like detailed details, this is for you.
There are 0 items in your cart.
99% of the joints I smoke are pinners or mini joints. Mine generally range in size, but this one is about .175 grams. And for me, a good pinner begins with my favourite pack of rolling papers — Ultra Thin (Slow Burning) Silver Zig Zags. Of all the rolling papers I’ve tried, it’s the one that I’ve found allows the taste of the strain and terpenes to come through. And if I don’t have any remaining, then you better believe I’m going out to grab a pack before looking at any other rolling paper.
🙋🏾♂️ Shafeez Walji, Co–Founder of Another Room
In my opinion, you can’t start something if you don’t have the proper tools. So get your goods situated – from your rolling tray, to your rolling papers, weed, Joint Cone, and grinder. I’m using a Mister Green Rolling Tray, and a Blazy Susan Grinder.
The biggest tip with grinding your weed is to make sure you break up your larger bud into small little nugs. I try to scatter mine throughout the grinder so it’s not packing too much into one area – more room for the grinder to work a bit smoother. This isn’t as big of an issue when you’re rolling a pinner joint, but now you know! Now that your buds are broken up, you can grind your weed in whatever ridiculous position you choose.
I swear by using half of the rolling paper!! Especially if you’re smoking something smaller, there’s no reason for ALL THAT PAPER. The important thing is to tear the opposite side of the glue strip. You don’t need the cut to be perfectly straight, but if you’re a real sicko, get the scissors!
I always use the top of my rolling paper pack to scrape the weed from my rolling tray onto the pack of rolling papers, so all the weed is gathered on a flat surface before adding it to my joint.
I know this seems obvious, but distributing your weed into the rolling paper is the first part of making this joint easier to roll. I lightly tap the pack of papers to help the weed fall into place.
Now that you’ve got the weed in the rolling paper, it’s time to smooth it out a bit. I usually use the side of my pinky finger to pat it down and make sure the joint isn’t feeling lopsided or uneven.
Your weed is in the rolling paper, and it’s smoothed out as much as can be, now you can begin the shimmy! Often, your weed will start a bit more puffed up in the rolling paper, your goal is to get it a bit more condensed. As you shimmy, you’ll start to see the joint take a more thin shape. Use your fingers against the parts of the rolling paper that don’t have weed to help create that shape, and push the paper down, until it’s ready for the fold.
YOU MADE IT HERE! Yes!!! The easiest way to complete the fold is to rotate the joint while folding. It just gives you a live preview of your joint before you decide to seal it’s fate.
I don’t have a filter involved in this tutorial, because I do not fuck with filters lol. Also a pinner joint like this doesn't really require one. BUT if you’re a filter person, check out Chloe’s step-by-step on how to roll a joint with a joint cone.
Seal the joint with a lick to the glue strip, and then proceed by rotating the joint as you complete the seal. I find that rotating the joint makes the finished product that much smoother.
A lot of people use the Joint Cone to roll their joints, but it’s also the perfect joint packing tool! For smaller joints like this, flip to the thinner end of the cone, and pack that weed in, not SUPER TIGHT, but just enough that it ain’t ready to all fall out.
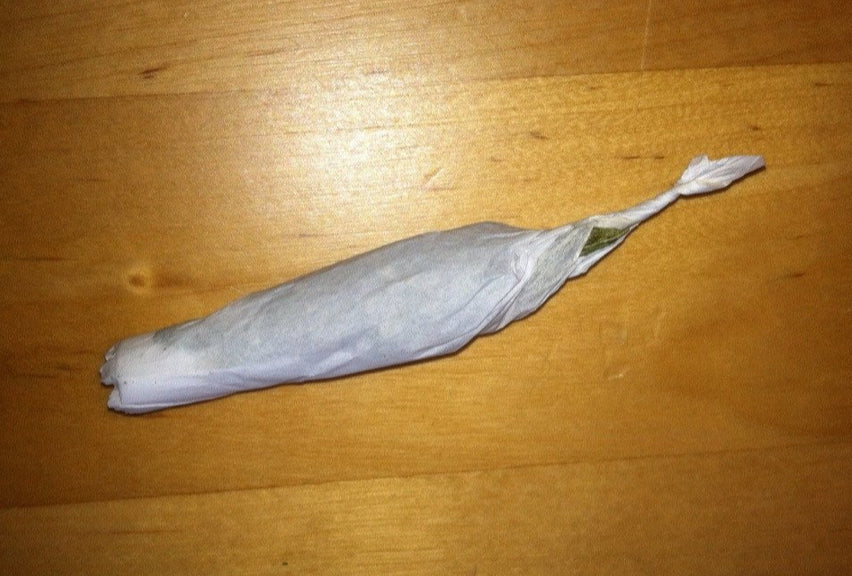
You’re almost there! To close this pinner joint successfully, you need a twist at the end.
If you get the last little bit of the rolling paper wet before the twist, I find it makes the twist WAY easier. To be clear, I’m referring to the area where there is no weed.
Lots of people keep that twisty end on, but once you’re ready to smoke it, I say snip it off! I find that it helps for a better initial spark of the joint. Either bite it off, or protect your teeth and use scissors.
This last step is obvious, put it in your Jointlocker for safekeeping! Also, when you roll a pinner like this, you can usually fit about 2-3 inside a Jointlocker!
Click to copy link to our joint rolling tutorials library.
https://anotherroom.io/blogs/another-blog/how-to-roll-a-joint-somewhere-nowhere-and-everywhere