I should definitely know how to roll a perfect joint without the help of a joint cone. But I LOVE the Joint Cone. I should also know basic math, but I have a calculator, so, who is to say who is right or wrong? My preferred consumption method is smoking joints, without question. I am not partial to any rolling papers, other than Edie Parker’s papers if I’m going to a party or hanging with the girlies. Or making a how to roll a joint tutorial.
1. Grind your weed
I have yet to find a grinder I’m IN LOVE with so I am rocking a tried and true Santa Cruz grinder in black. If anyone has any grinders that they swear by, I’m all ears.
💨 I am usually smoking 💨
- Cake & Caviar Waffle Bites if I can find it, and Gun Powder Milkshake otherwise.
- BLKMKT Animal Sorbet Kush Mints, or Jealousy.
- If I’m in the states, I am a Pure Beauty gal and honestly have no preference of strain because I love everything they do.
2. Wrap your rolling papers around the Joint Cone
Place the Joint Cone on the far right side of the rolling papers, ensuring the sticky side of the rolling papers is on the left! Simply wrap the Joint Cone with the rolling papers.
‼️ Crucial Information ‼️
Ensure you leave enough of the joint cone at the bottom so it’s easy to pop out! See below.
3. Lick the sticky part of your rolling papers
You don’t need to be as dramatic as me, simply lick the sticky part of your rolling papers. If you don’t want to lick the papers, you can wet your finger with water and use that instead.
4. Seal the rolling papers around the Joint Cone
Take your sticky licky papers and finish wrapping them around the bottom of the Joint Cone. I usually give it a minute and let it set before I put a filter in. This gives the adhesive extra time to firm up so you don’t have to be delicate for the next steps.
5. Pop the Joint cone out of your joint
Give the bottom of your Joint Cone a light tap and it should pop right out of your joint, easy breezy! Rest your Joint Cone on your rolling tray for later use.
6. Roll your filter
I am a filter girl through and through, the only time I don’t use a filter is if I’m smoking Shafeez’s Pinner joints. I’m sure people will disagree with my methods but this is actually how I roll so WHATEVER. I like to do 2-3 folds one way, and then roll the rest the other way. This has been the method to my madness for ensuring no weed gets through my filter when I’m smoking.
7. Place the rolled filter inside your rolling paper
I use the skinny end of Joint Cone to push the filter to the bottom, I like it nice and tight in there. Be gentle–ish when doing this part of the process. As you get more practiced, you can be less gentle lol.
8. Fill your joint with drugs!!!
I use the skinny end and thick end of the joint cone for packing my joints because I love variety.
⭐️ Bonus ⭐️
The Joint Cone works like a Zamboni for your weed, don’t know what a Zamboni is? Google it! Also, incase anyone was curious, despite popular belief, both Shafeez and I are Canadian, which is why we know what a Zamboni is.
9. Twist the top of your joint
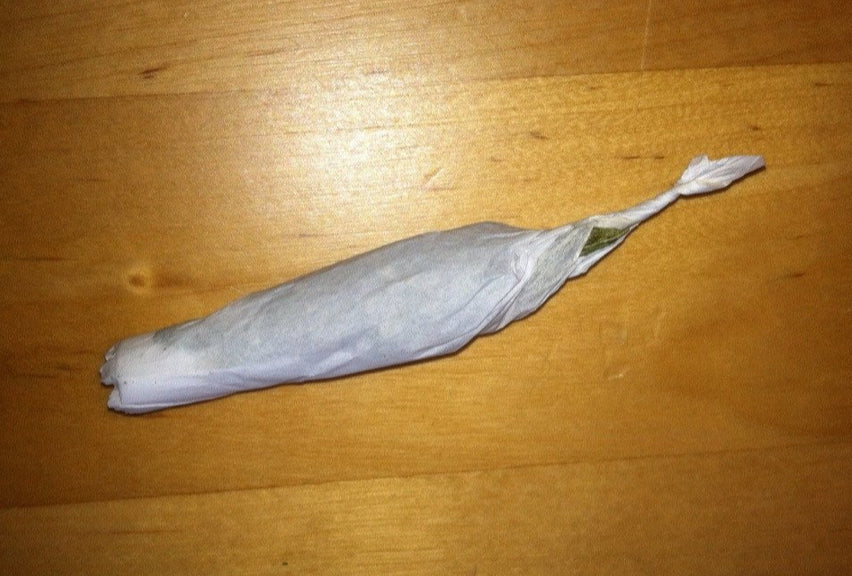
I like to give it a little twist at the top! I bite this off before I smoke it.
10. Put your joint into your Jointlocker
If you want to smoke your freshly rolled joint right away, I get it. You can store your Joint Cone in your Jointlocker instead of your joint. However, if you’re about to go on an adventure, nightly walk, etc. pop your joint into your Jointlocker and presto! Into your pocket it goes.

Know someone who struggles with rolling joints!?
Click to copy link to our joint rolling tutorials library.
https://anotherroom.io/blogs/another-blog/how-to-roll-a-joint-somewhere-nowhere-and-everywhere